

Tesla Certified Installer
Tesla Wall Connector Installation: Complete Homeowner Guide
Plan a Tesla Wall Connector installation with clear guidance on location, electrical capacity, circuit routing, commissioning, permits, and handoff.
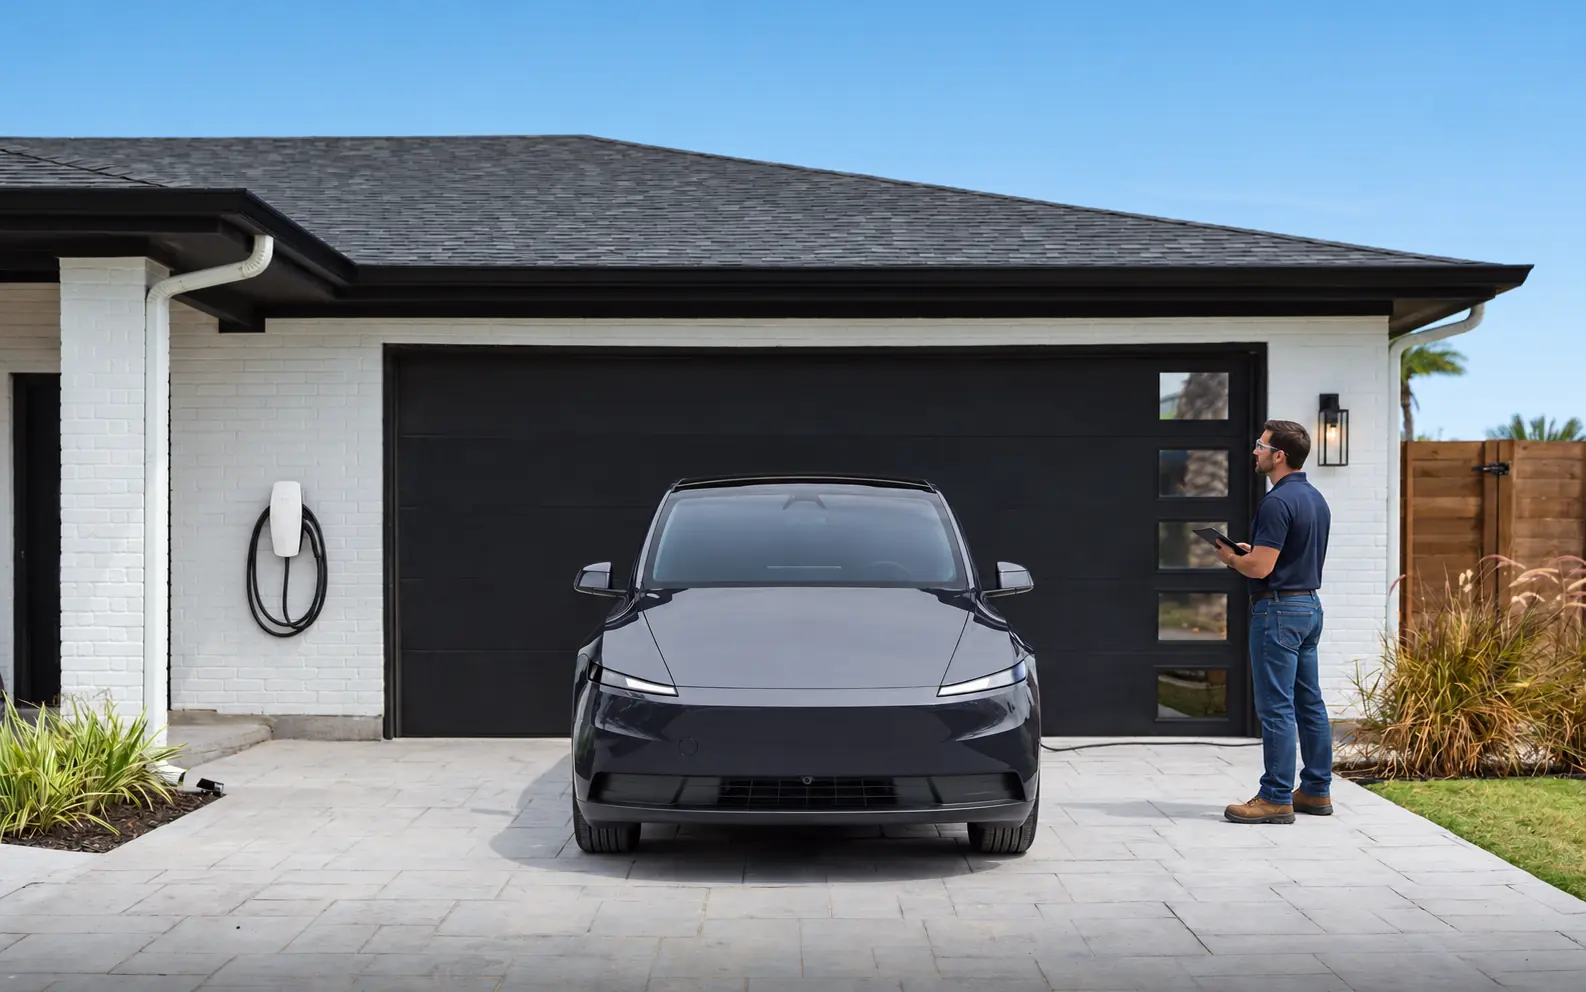
This article is general education, not electrical design or do-it-yourself instructions. A qualified professional must assess the property and applicable requirements.
A successful Tesla Wall Connector installation begins with the vehicle’s real charging need and ends with a tested, documented owner handoff. Between those points are the electrical assessment, circuit route, mounting position, permits, commissioning and app setup. This homeowner guide organizes those decisions without turning them into do-it-yourself electrical instructions.
The installation should match one vehicle-use case, parking location, electrical system and realistic daily energy need. A site assessment turns those inputs into the circuit, route, mounting, permit and commissioning scope.
Translate daily driving into a charging target
Begin with miles driven, the hours the car is normally parked, and the vehicle’s onboard charging capability. Maximum charger output is not always necessary for overnight recovery. A household with a predictable commute may meet its goal on a smaller approved circuit, while irregular high-mileage use or two vehicles may justify a different plan. Ask the installer to explain expected energy recovery without guaranteeing an exact result.
Account for charging losses, cold-weather behavior, scheduled charging, and occasional travel. The design should support typical use with a reasonable buffer, not an edge case that forces expensive work without benefit. Keep public fast charging as a separate travel tool rather than assuming the home system must duplicate it.
Choose the mounting point from the parked car backward
Park the vehicle as it will be used and locate the charge port. Check cable reach with room for natural movement, not a taut diagonal. Avoid door paths, storage areas, hot equipment, sharp edges, pedestrian routes, and places where the connector or cable can be struck. Consider whether a future vehicle may park in the opposite direction.
The electrical route matters, but it should not create an awkward daily routine. A slightly longer branch circuit may produce safer cable handling. Outdoor locations add sunlight, drainage, snow, landscaping, and impact concerns. A pedestal can solve a missing-wall problem but introduces foundation, underground routing, and physical-protection work.
Match the circuit and commissioned current
The electrician should design a dedicated branch circuit using the applicable requirements and Tesla’s current instructions. Breaker rating, conductor material and size, termination ratings, routing conditions, temperature, panel limits, and continuous-load treatment all belong in the calculation. The Wall Connector must then be commissioned to the installed circuit.
Do not change installer settings to chase speed. A setting above the circuit design can defeat the relationship between equipment and protection. If charging needs change, ask the installer to reassess the circuit. Keep the circuit rating and commissioned current in the handoff records.
Consider capacity before choosing panel work
A load calculation evaluates the new EV load with the rest of the home. Physical breaker space alone does not prove capacity, and a large main breaker does not prove the panel is suitable. Ask the electrician to identify any feeder, bus, service, or condition issue separately from the charging circuit.
Supported load-management features or a lower charging current may be alternatives in some homes. They have their own compatibility, installation, communication, and inspection requirements. Compare operating behavior and total scope. A panel upgrade may still be justified, but the proposal should state why it is needed.
Finish with commissioning and a real charging test
After terminations and mounting are complete, the installer should energize, commission, and test the Wall Connector under the approved design. Confirm device identity, access settings, connectivity, indicator status, and a charging session with the vehicle when practical. Testing should not be postponed to the homeowner without explanation.
Ask for the permit and inspection status, product and circuit records, photographs, warranty contacts, and instructions for fault indicators. Label the breaker and keep the route information. A clean handoff is part of the installation, not an optional tutorial.
Compare complete Wall Connector scopes
A complete Wall Connector quote should address dedicated circuit design, conductor route, overcurrent protection, mounting, weather exposure, power setting, commissioning, connectivity, inspection and owner setup. Ask the bidder to identify the equipment, state the design assumptions, name the permit holder and distinguish included work from allowances.
Watch for selecting a breaker before assessing the property, ignoring cable reach, omitting commissioning or assuming a panel upgrade without comparing supportable alternatives. A remote estimate should state its route and capacity assumptions and schedule a field check. The customer needs to know which finding can still change the design or price.
Handoff should confirm secure mounting, circuit-matched commissioning, owner registration, a successful charging test, labels, documentation and inspection status. Put these deliverables in the agreement. Save Tesla’s support route with the contractor’s separate workmanship and permit-correction contacts.
Assemble the home charging brief
Send the vehicle and weekly charging pattern, Wall Connector model, normal parking position, cable-reach concern, panel location, Wi-Fi conditions and future EV plans. Photographs should show accessible spaces without exposing live parts. Identify a realistic second vehicle or battery plan early enough to affect routing, but keep it itemized apart from present work.
Ask which electrical company contracts and permits the work, who performs Tesla One commissioning and how the team evaluates power-management options. Verify that contractor in the jurisdiction’s public records. Recheck Wall Connector support and address availability before the scheduled visit, especially when sales and field work involve different organizations.
Collect the address, safe panel information, parking details and selected product, then request a written assessment. Use request service or review Tesla Wall Connector installation. Before work is scheduled, confirm the assigned provider’s qualifications, local availability, product support, permit responsibility and complete handoff scope.
Match the finished work to the agreed design
Use the final proposal as a build checklist: exact Wall Connector, branch circuit, configured current, cable route, wall repair, permit, inspection and owner setup. Any panel or service work should have a stated reason, while unverified conditions remain written allowances.
Read the model-specific Tesla installation instructions beside the quote and connect each important requirement to a line of scope. The electrician should define the dedicated circuit, conductor route, overcurrent protection, mounting surface, environmental exposure and permitted charging setting. The commissioning technician should then complete the supported Tesla One workflow, establish the intended owner access and demonstrate charging after electrical tests. A glossy product summary cannot settle route, circuit or inspection questions for a particular house. If the proposal relies on load management, Power Sharing or another connected feature, ask for the exact compatible hardware and commissioned behavior in writing rather than accepting a feature name by itself.
For the site visit, have the vehicle and charging pattern, Wall Connector model, normal parking position, cable-reach concern, panel location, Wi-Fi conditions and future EV plans available. Existing records and safe photographs can save time. Park normally and clear ordinary access, but leave panel covers, measurements and compatibility conclusions to the electrician.
Define a finished installation in the agreement: the Wall Connector is securely mounted, configured for the installed circuit, connected to the appropriate owner experience, tested with a vehicle when available, labeled, documented and cleared through the required inspection process. If any item must follow later, state who owns it and whether the charger may be used in the meantime.
Keep the few site-specific unknowns visible: final route measurement, load input, circuit setting, mounting substrate, Wi-Fi reach, permit timing or customer-supplied equipment status. The quote should identify who resolves each item and how it can affect price or schedule. Confirm those facts in writing instead of relying on an optimistic remote assumption.
Keep permit status distinct from physical completion
A mounted and functioning Wall Connector may still have an open inspection or correction item. Ask the proposal to identify the permit applicant, expected inspection stage, responsibility for corrections and the record that confirms closure. If the authority allows use before final paperwork, obtain that information from the responsible professional rather than assuming that a successful charging test is approval. Save the inspection result with the circuit setting and equipment details. This distinction protects the owner during a future sale, insurance question or service visit and gives the installer a clear administrative finish line beyond energizing the charger.
Frequently asked questions
Add a one-page completion record to the home file: Wall Connector model and serial, branch circuit, breaker location, configured current, permit result, Wi-Fi registration date and a safe photograph of cable storage. A future owner or electrician can then understand the installation without guessing.
Does every Wall Connector require a panel upgrade?
No. The existing service, calculated load, proposed circuit and available power-management options should be assessed before deciding.
Can a Wall Connector be installed outdoors?
Tesla provides equipment guidance for installation environments. The installer must also select a compliant location, mounting method and wiring approach for the property.
How high should it be mounted?
Follow the current Tesla installation instructions and applicable accessibility or local requirements. The exact position should also allow safe cable handling.
Is Wi-Fi required to charge?
Charging and connected features are different considerations. Review Tesla’s current connectivity guidance and make sure commissioning can be completed at installation.
Who sets the charging current?
The qualified installer should commission the unit to match the installed circuit and documented design rather than leaving an unsupported setting.
Sources
Request a property-specific assessment
Share the address, equipment and project goal. The service team can confirm the next step and proposed provider qualifications.
More from the learning center
Continue reading.
Related guides for the next decision.
Cable Routing for a Tesla Charger Installation
Compare Tesla charger cable routes through garages, attics, crawlspaces, exterior walls, and underground paths while planning access and restoration.
Read the articleDo I Need a Panel Upgrade for a Tesla Wall Connector?
Find out how electricians evaluate panel capacity for a Tesla Wall Connector and when load management, a smaller circuit, or panel work may be considered.
Read the articleGen 3 Tesla Wall Connector Installation Planning
Plan a Gen 3 Tesla Wall Connector project around the circuit, mounting location, connectivity, commissioning, power sharing, and future charging needs.
Read the article