

Tesla Home Energy
How to Prepare Your Garage for a Tesla Charger
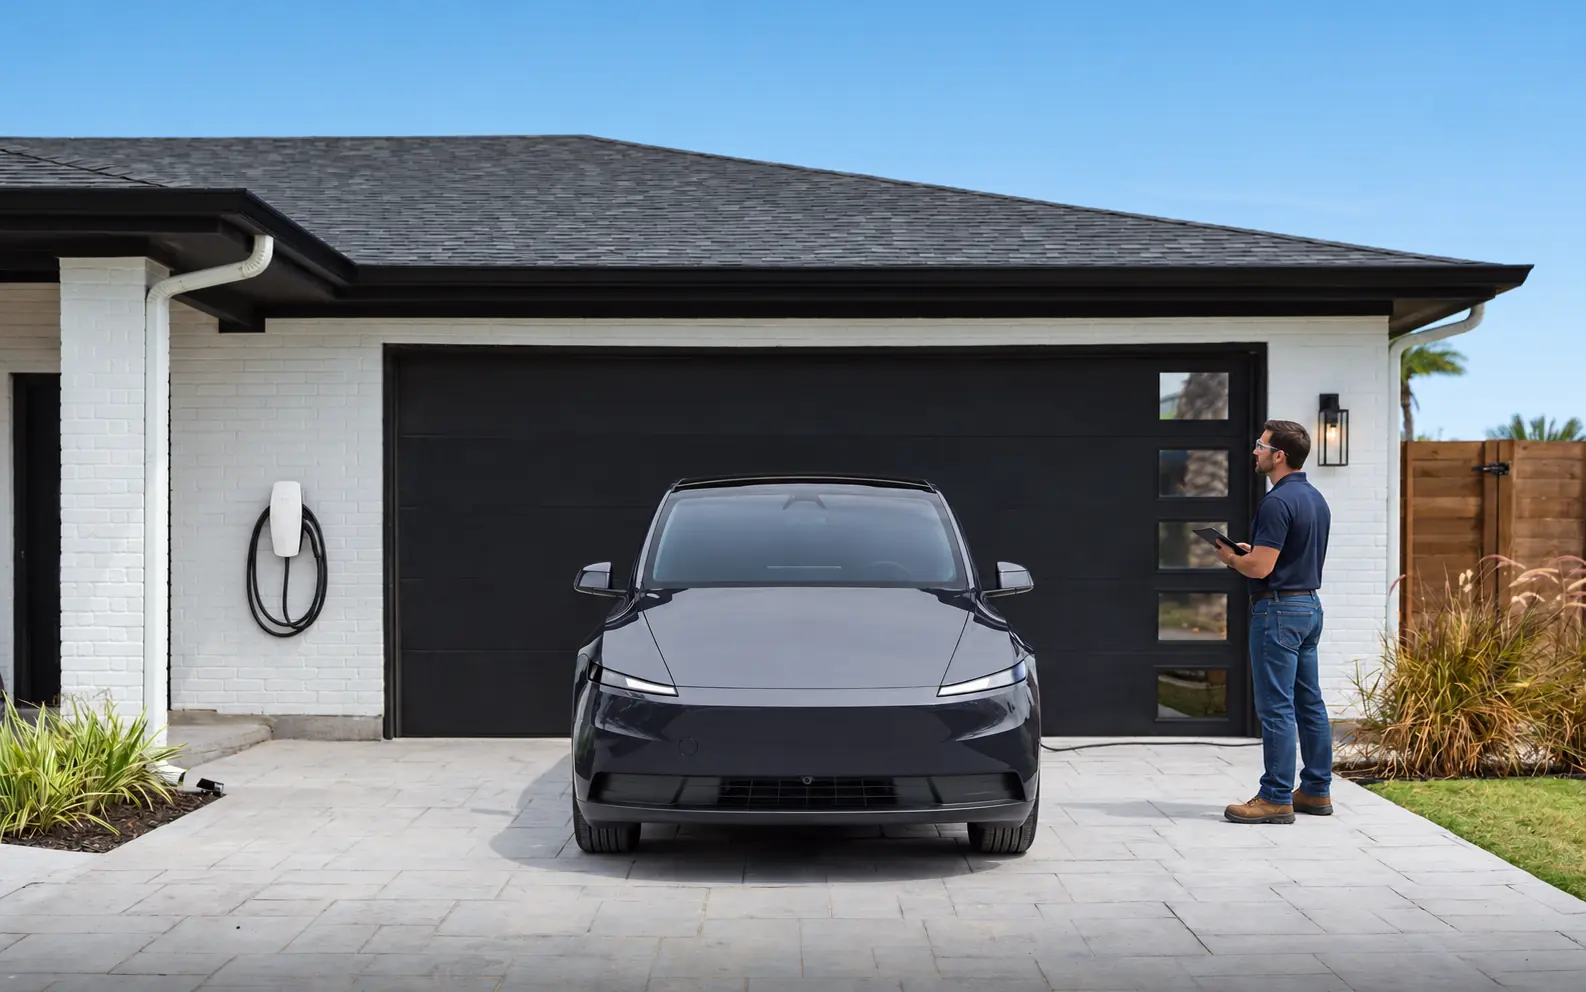
Prepare your garage for a Tesla charger assessment by reviewing parking, cable reach, panel access, Wi-Fi and future charging needs with an installer.
This article is general education, not electrical design or do-it-yourself instructions. A qualified professional must assess the property and applicable requirements.
Preparing a garage for a Tesla charger begins with how the space works every day. The best mounting point is not automatically the closest empty wall or the point nearest the electrical panel. Vehicle position, cable reach, walking paths, storage, garage doors and a possible second EV all affect the decision.
Homeowners do not need to perform an electrical inspection before requesting service. A few safe observations and records can make the professional assessment more useful. This guide explains what to gather, what to leave alone and which decisions should wait for the electrician.
Park the Tesla where it normally lives
Put the vehicle in its usual overnight position before the assessment. Note whether it is pulled in or backed in, which side faces the wall and how close the charge port is to possible mounting locations. Open every vehicle and garage door to reveal conflicts that are easy to miss in an empty garage.
Imagine the cable connected, disconnected and stored. It should not need to be stretched tightly, passed under a closing door or laid across the main path into the house. Consider children, mobility needs, bicycles and trash containers. A charger that is convenient on installation day should remain convenient after the garage returns to normal use.
If parking varies, demonstrate the alternatives. Some households alternate vehicles or occasionally park outside. Tell the installer if a second Tesla or another EV may arrive. That information can affect connector choice, cable-management position and whether a future pathway is worth preparing.
Choose candidate mounting areas, not a final point
Select two or three possible areas and let the installer evaluate them. Note whether each wall is drywall, masonry, concrete, exposed framing or another surface. Identify shelves, cabinets, plumbing, utility equipment and planned storage that could restrict access.
Equipment needs an appropriate mounting surface and required clearances. It may also need protection from vehicle impact, moisture or physical damage. Do not drill exploratory holes, remove finishes or move fixed equipment before the electrical route is designed. A small change in mounting location may greatly simplify the route or improve cable reach.
If the Wall Connector will be outside the garage opening, show how rainwater drains, where snow or landscaping collects and how vehicles maneuver. Outdoor suitability depends on the product and installation method, not only on whether the enclosure looks weather-resistant.
Make the electrical panel safely accessible
Clear boxes and stored items from the normal working area around the panel, but do not remove the cover. Photograph only labels and exterior information that can be viewed safely. If the panel is in another room or outside, make sure the assessor can access it.
Gather any electrical documents available: panel schedules, service-upgrade records, solar diagrams, generator or battery information and permits from recent work. A current electricity bill and a list of major electric appliances can also be useful. Include electric heat, water heating, cooking, pool or spa equipment, workshop loads and existing charging.
The electrician determines the appropriate load evaluation. Online calculators and breaker labels cannot reliably show the complete condition or capacity of the system. Do not rearrange breakers or unplug permanently connected equipment to make the charger appear easier to add.
Think through the electrical route
Walk from the panel to each candidate charger location. Point out unfinished spaces, accessible basements, crawlspaces and attics. Also identify finished rooms, fire-rated walls, cabinets and exterior surfaces that the route may cross. The installer decides the approved wiring method, but knowing the building layout improves the discussion.
Ask where raceway would remain visible and where openings might be needed. Decide how important concealed work is compared with cost and future access. Surface-mounted raceway can sometimes be a clean, serviceable solution; concealed work may require more finish repair.
For a detached garage, identify existing feeders, underground routes and the location of other buried utilities, but do not dig. Trenching, utility locating, pavement repair and landscape restoration need named responsibilities in the quote.
Define your daily charging requirement
Write down average daily mileage, longest regular drive and typical hours parked at home. Include winter or seasonal differences. These inputs are more useful than simply requesting the maximum possible circuit.
Tesla publishes supported charging information by vehicle and Wall Connector configuration. The vehicle, circuit and charger setting all influence charging rate. A larger circuit cannot force a vehicle to accept more AC power than its onboard equipment supports.
Tell the installer whether charging can happen overnight, during daytime solar production or within a shorter window. If two EVs may share the home, describe their schedules. A practical plan may use power sharing, load management or different charging times rather than two independent maximum circuits, subject to an approved design.
Check Wi-Fi and phone coverage
Connected setup and features may use Wi-Fi. Stand at each candidate mounting area and check the home network with an ordinary phone. Note weak coverage, but do not purchase network equipment before confirming current product requirements and the final charger location.
Wi-Fi does not replace electrical testing or commissioning. The electrician remains responsible for configuring the equipment for the installed circuit and verifying normal operation. App access is one part of handoff, not the only evidence that the project is complete.
If the garage uses a guest network, mesh system or building-managed internet, mention that early. Shared and multifamily properties may restrict who can add devices or change network settings.
Clear access without over-preparing
Before the appointment, move portable items that block the panel, route and candidate wall. Keep the vehicle available if possible. Secure pets and provide keys or access instructions for detached spaces.
Do not demolish drywall, empty the entire garage or buy materials based on a remote guess. The assessor may recommend another route or mounting point. Avoid purchasing a Wall Connector if model or connector compatibility remains uncertain; a proposal can identify the exact equipment first.
Tell the provider about known asbestos, lead-paint, fire-separation or structural concerns. Those conditions may require another qualified trade or a different method. Hiding them creates risk and schedule changes.
Plan for other home-energy projects
Mention rooftop solar, Powerwall, a generator, a planned heat pump, induction range or service upgrade. These projects can compete for panel space, wall space and capacity. Coordinating the route now may prevent duplicated work later.
Future readiness does not require purchasing every upgrade. A documented conduit path, accessible junction strategy or reserved physical space may be enough. Ask the electrician to distinguish current installation requirements from optional preparation.
Keep drawings, concealed-route photographs, circuit information and permit results after the work. Future contractors should be able to understand what was installed without opening walls.
Prepare questions for the installer
Ask which Wall Connector model is proposed, who supplies it and which circuit configuration will be used. Request the proposed route, visible components and expected wall openings. Confirm whether permit, inspection, patching and commissioning are included.
If panel work is recommended, ask what load assessment supports it and what alternatives were considered. Confirm product-specific qualifications and electrical licensing for the named provider. Ask who handles support if the charger works electrically but has a connectivity or product problem.
The final scope should also explain change orders, equipment and workmanship warranty terms, and the records provided at completion.
Before the installer leaves, ask where the circuit information, permit record and product documents will be stored. A small labeled home-energy folder can prevent confusion years later.
Frequently asked questions
Should I empty my entire garage?
No. Clear safe access to the panel, route and candidate mounting areas. Leaving the vehicle in its normal position can help assess cable reach.
Should I buy the Wall Connector before the assessment?
You can wait until the installer confirms the model, compatibility and scope. If you already own it, provide the exact model information.
Where is the best garage location?
The best point balances charge-port reach, safe cable storage, mounting, impact risk and electrical routing. It is property-specific.
Is garage Wi-Fi required?
Current connected features and setup may use Wi-Fi. Check Tesla’s current requirements and coverage at the proposed location.
Can I prepare for two EVs now?
Yes. Discuss parking and schedules so the design can consider routing, power sharing or load management without automatically installing unnecessary equipment.
Start the assessment
Explore Tesla Wall Connector installation or request service. Provider availability, qualifications and equipment support are confirmed for the property.
Sources
Request a property-specific assessment
Share the address, equipment and project goal. The service team can confirm the next step and proposed provider qualifications.
More from the learning center
Continue reading.
Related guides for the next decision.
Adding Powerwall to an Existing Solar System
Evaluate inverter compatibility, array details, utility rules, monitoring and backup goals before adding Tesla Powerwall to existing rooftop solar.
Read the articleCommercial Tesla Charging Installation Planning
Plan commercial Tesla charging around users, dwell time, site power, parking, networking, accessibility, ongoing operations and future expansion.
Read the articleEV-Ready New Construction for Tesla Charging
Design an EV-ready home with practical conduit, panel space, parking layouts, load planning and flexible options for Tesla or multi-brand charging.
Read the article